Connecting Angler to Snap
Manual steps for enabling Angler to send Predictive CAPI events to Snap
Create a new pixel
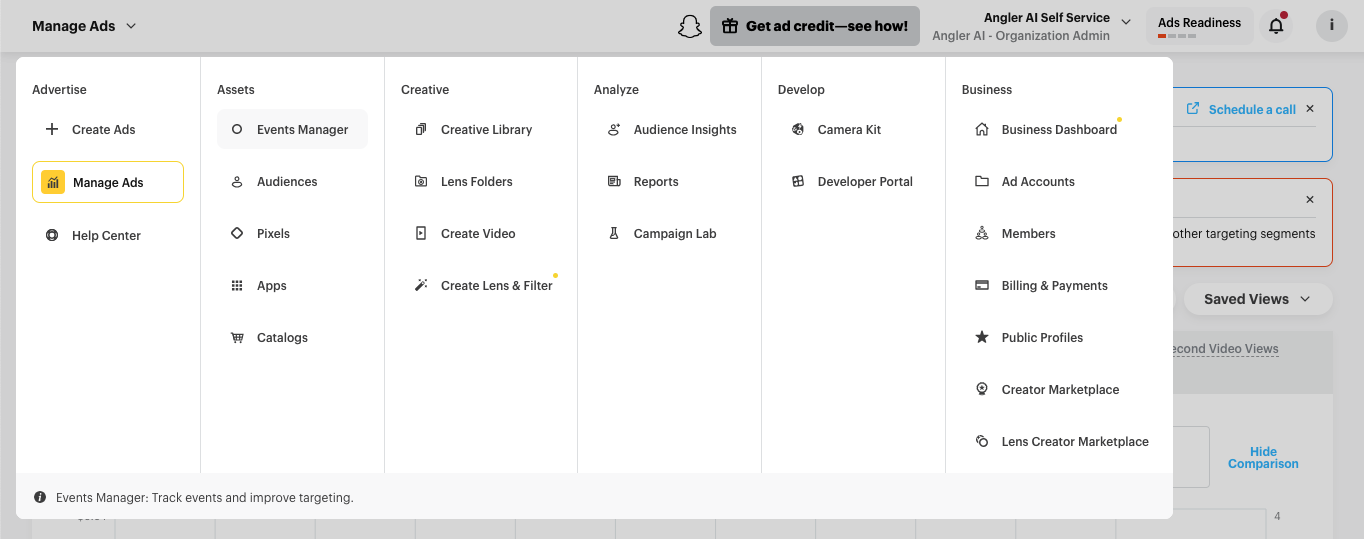
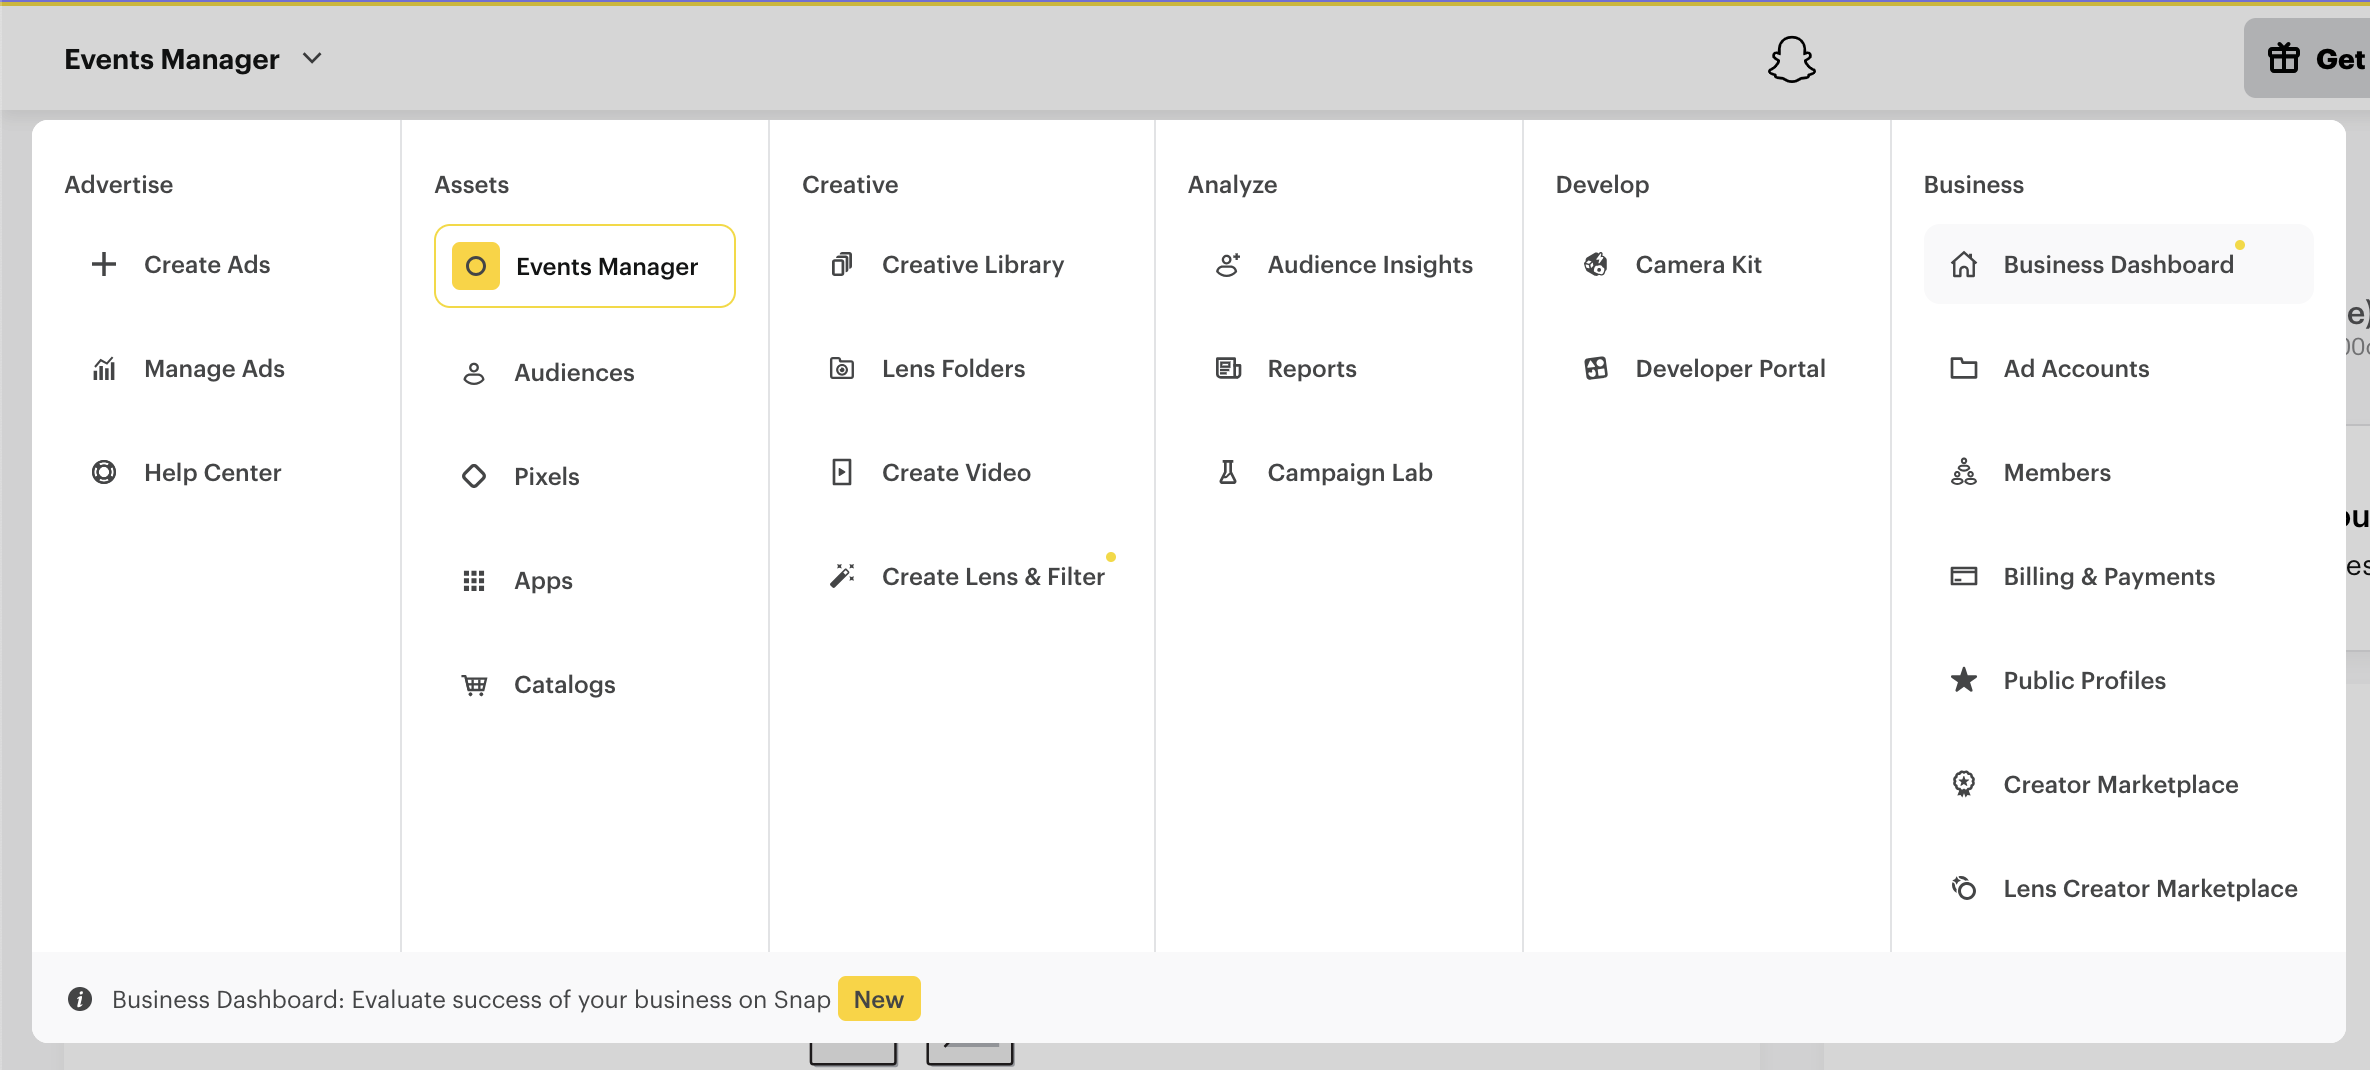
1. From Snap ads manager's menu navigate to Events Manager
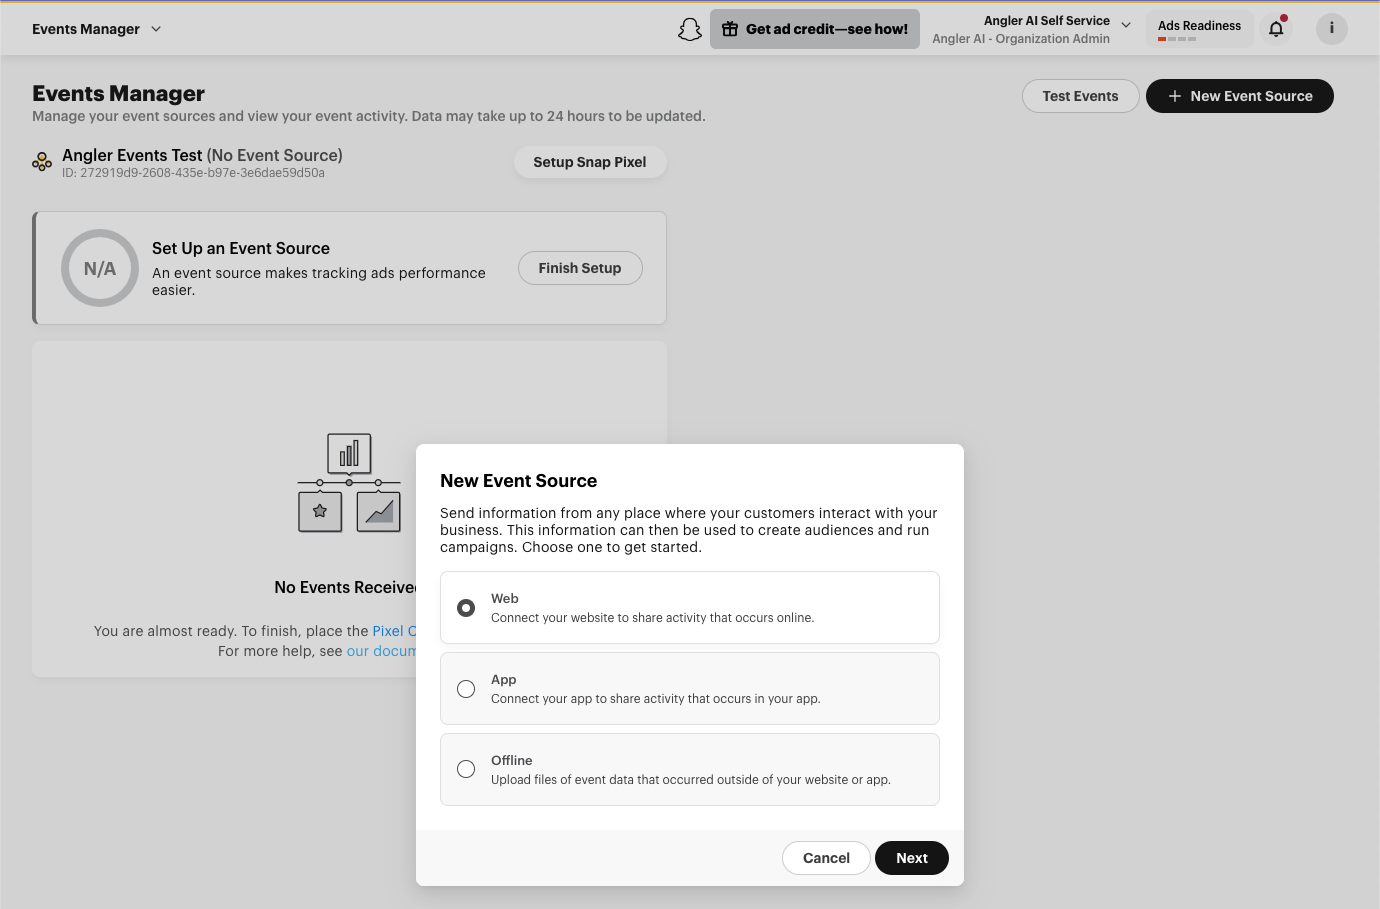
2. Click the "+ New Event Source" button, then select "Web", then click "Next"
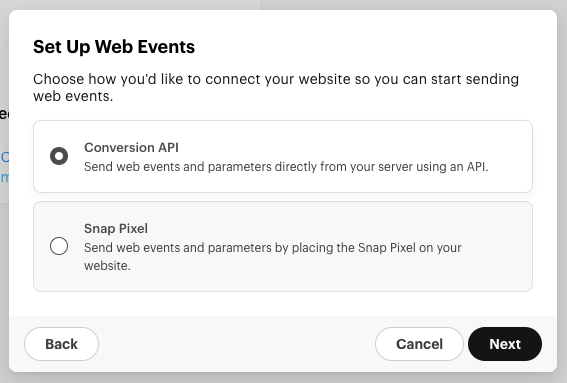
3. Select "Conversion API" and then click "Next"
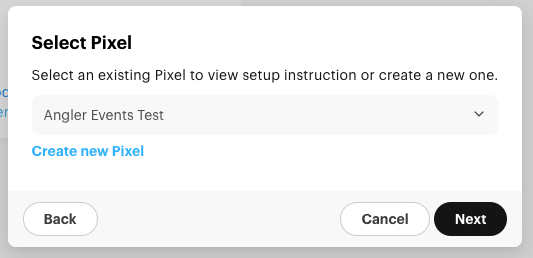
4. Click "Create new Pixel"
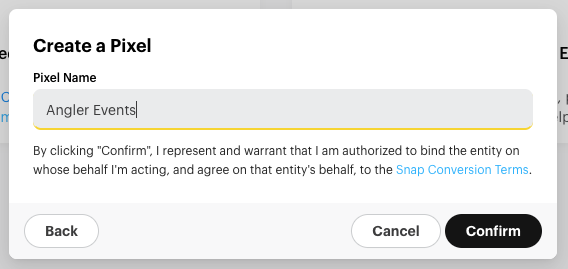
5. Provide a name like "Angler Events" and click "Confirm"
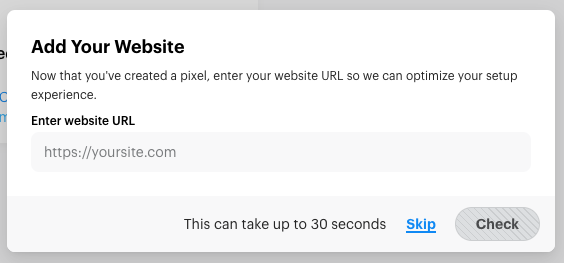
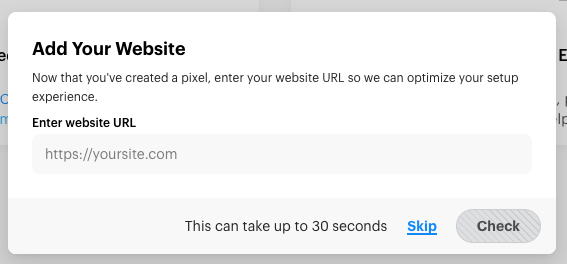
6. Click "Skip" when prompted to Add Your Website
7. Select "Manual Setup" for the Event Setup Method, then click "Next"

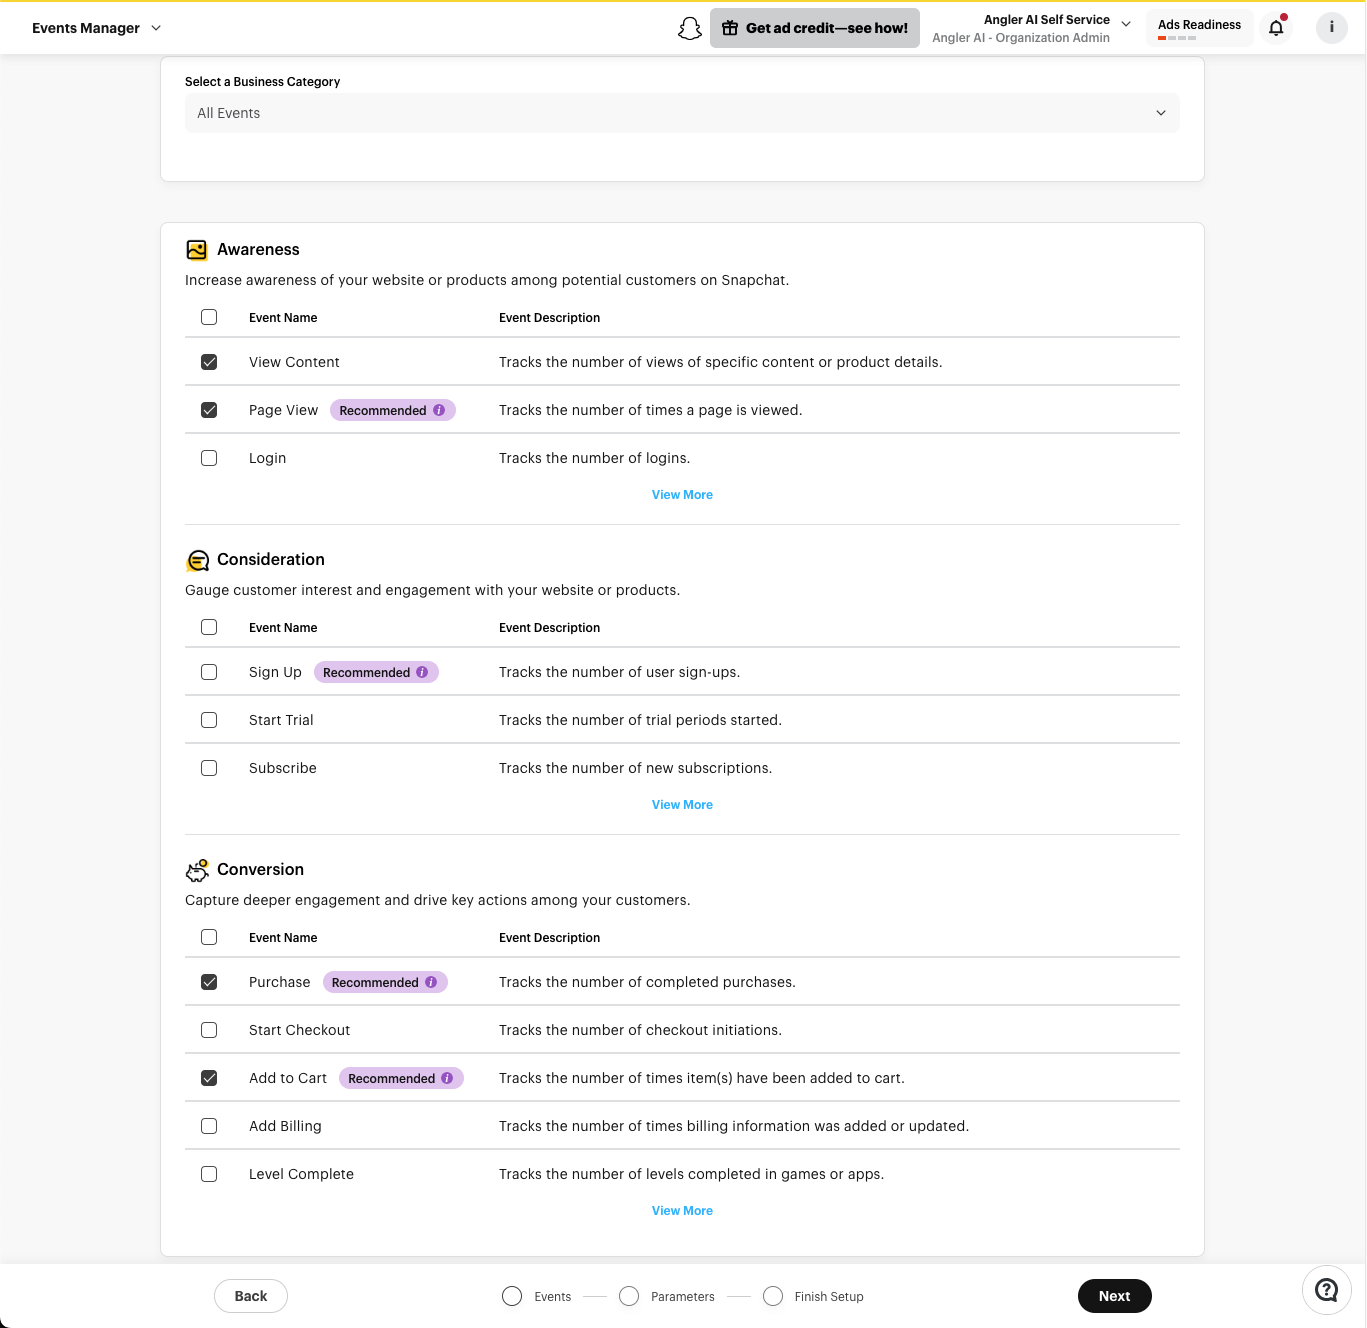
8. Review the default Events, then click "Next"
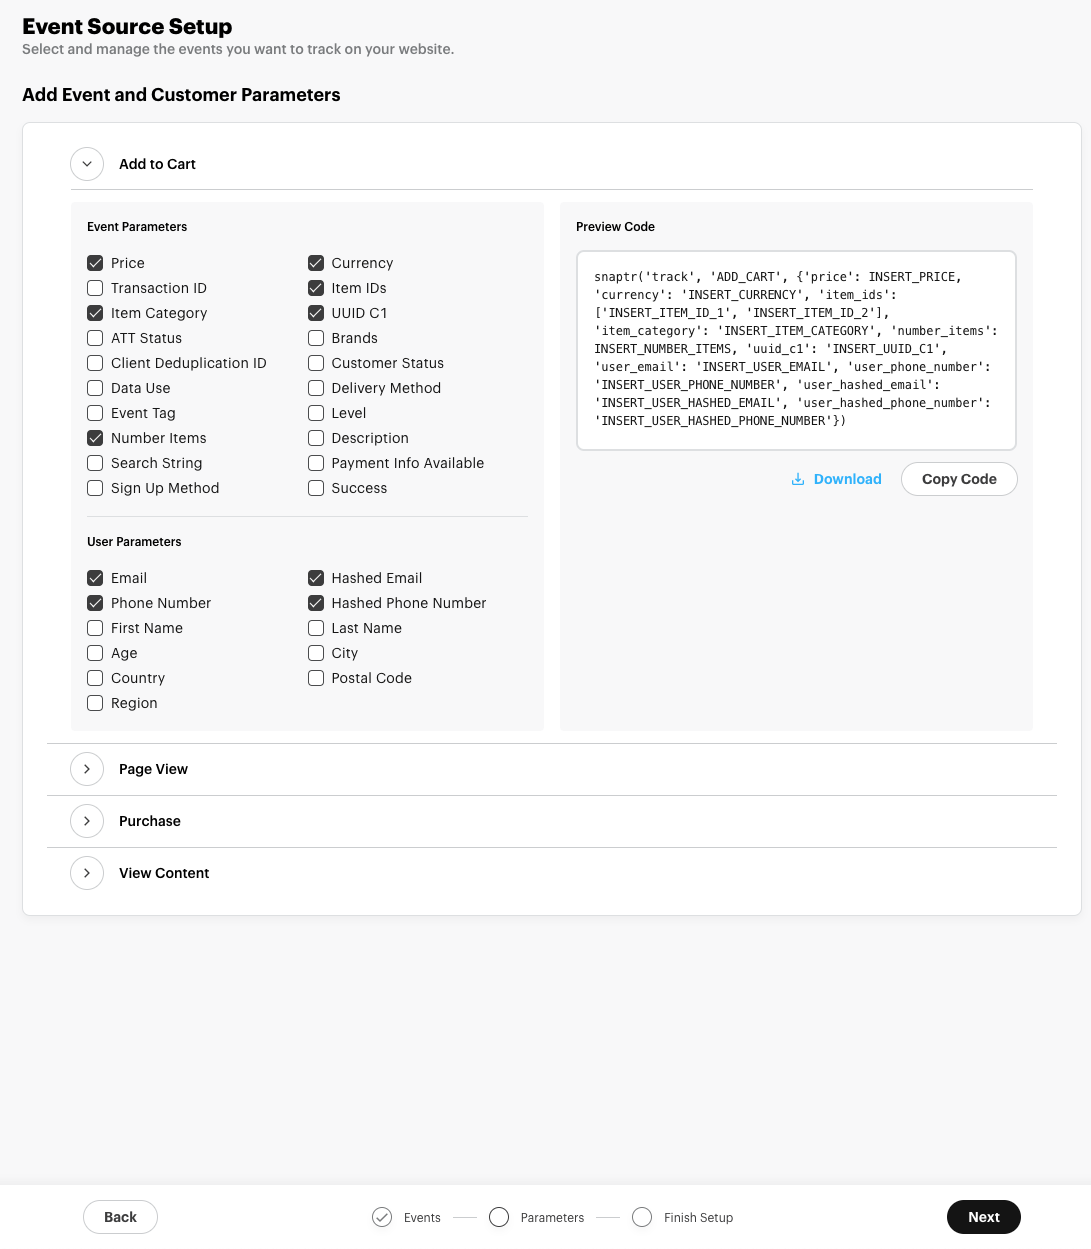
9. Accept the default event parameters and click "Next"
10. Click "Finish"
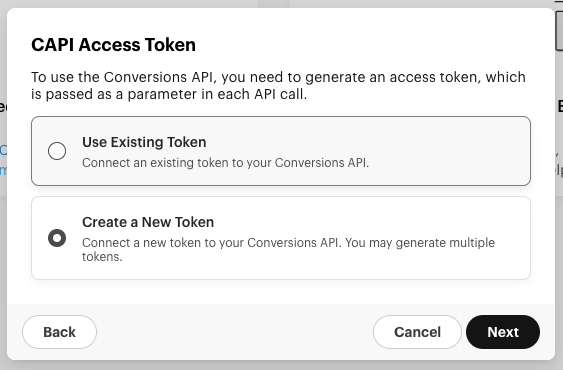
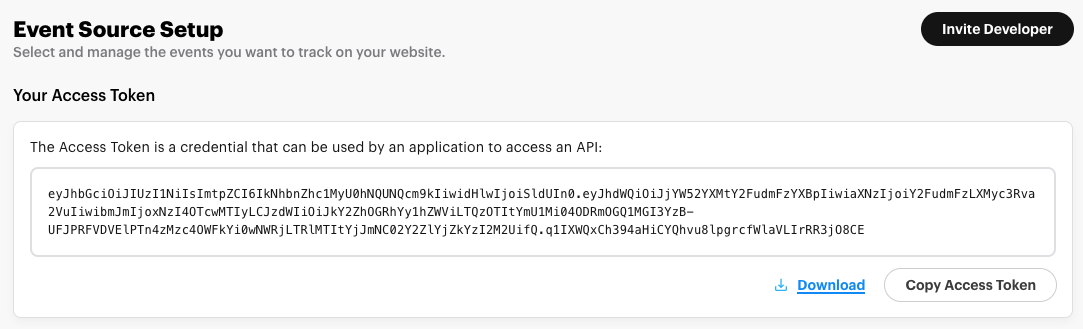
Create a CAPI access token
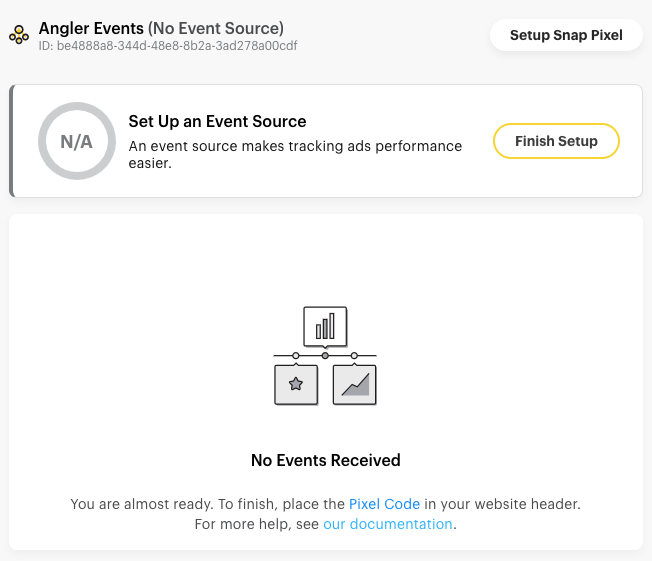
1. From Events Manager, click "Finish Setup" on the new Angler pixel
2. Click "Skip" when prompted to Add Your Website
3. For Set Up Web Events, select "Conversion API" and then click "Next"

4. Select "Create a New Token" and then click "Next"
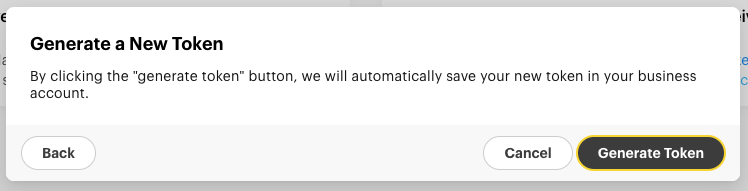
5. Click "Generate Token"
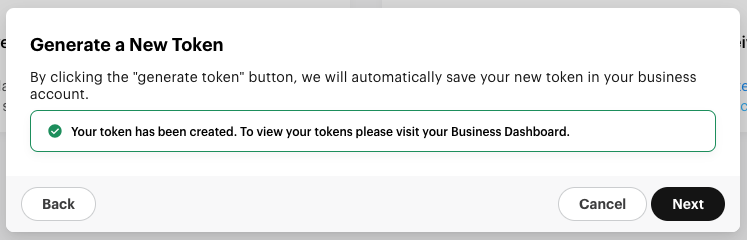
6. Click "Next"
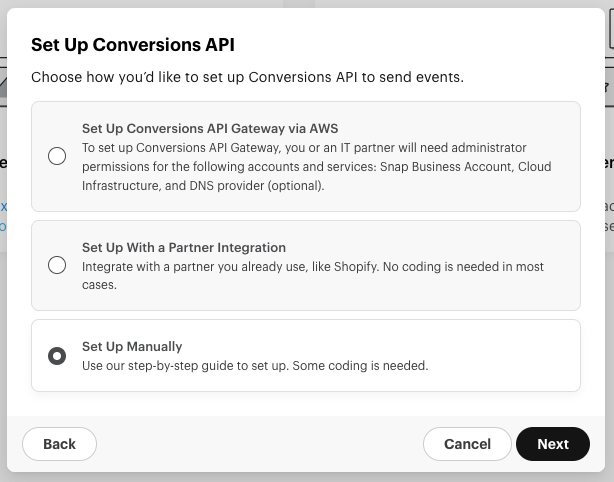
7. Select "Set Up Manually" then click "Next"
8. Click "Next" and "Next" again for Events and Parameters setup, leaving the default events & parameters checked
9. Click the "Download" link to download the access token text file, and send this file to your Angler contact
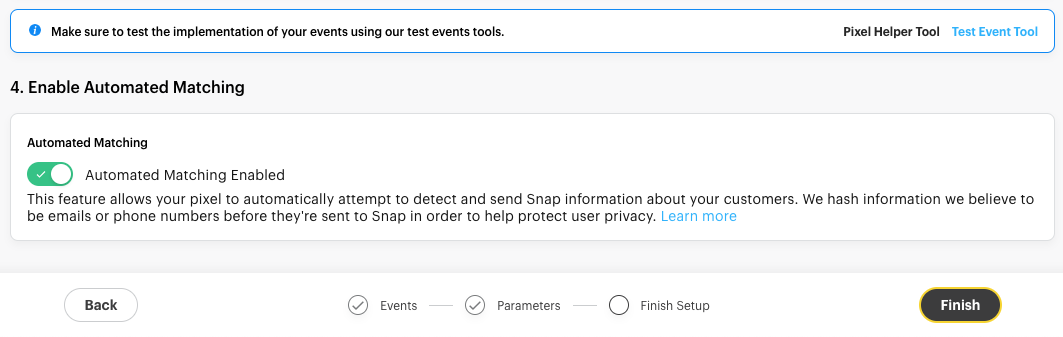
10. Click "Finish"
Share the new pixel with Angler
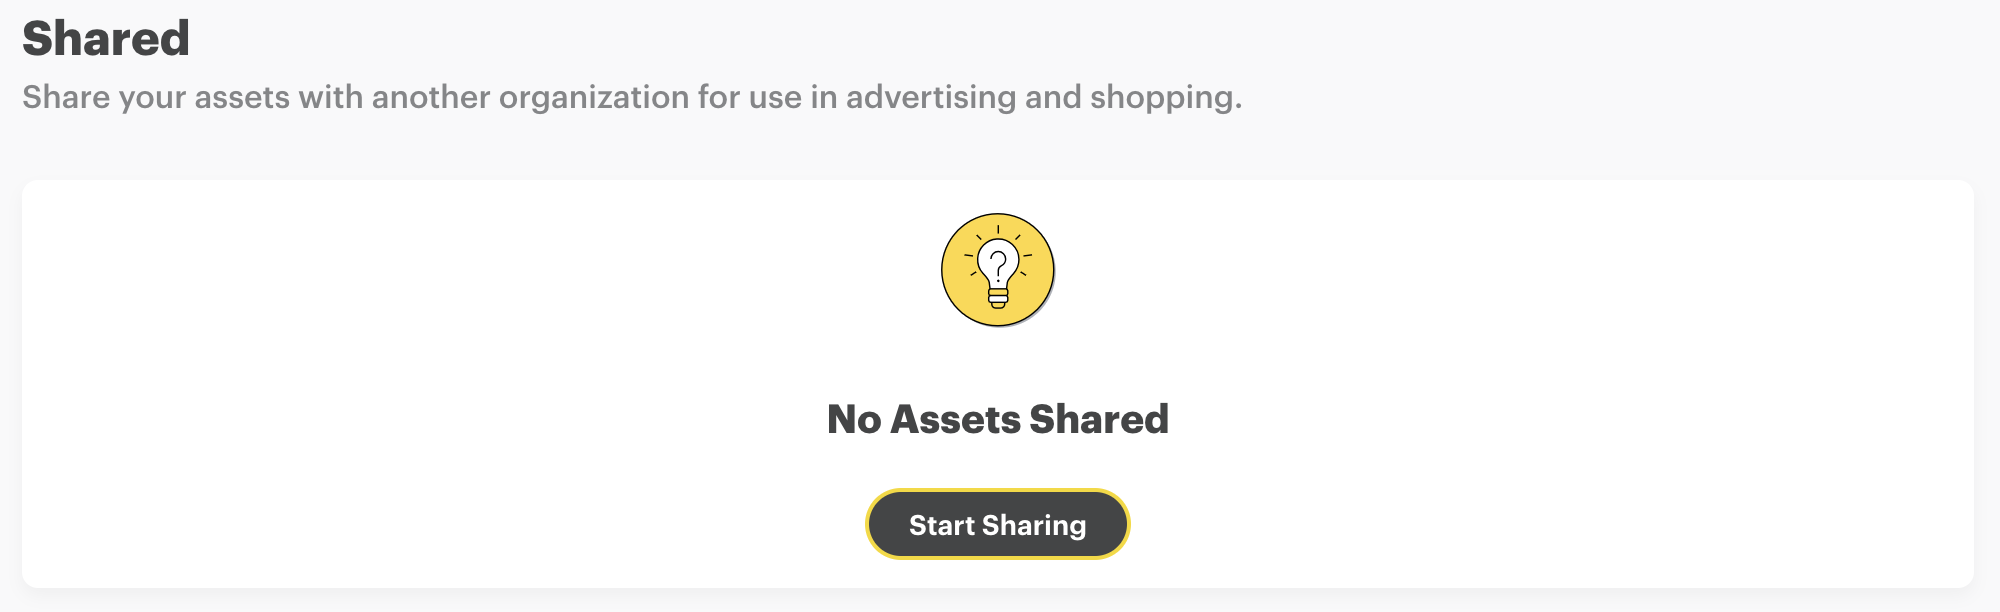
1. Navigate to Business Dashboard, then Shared
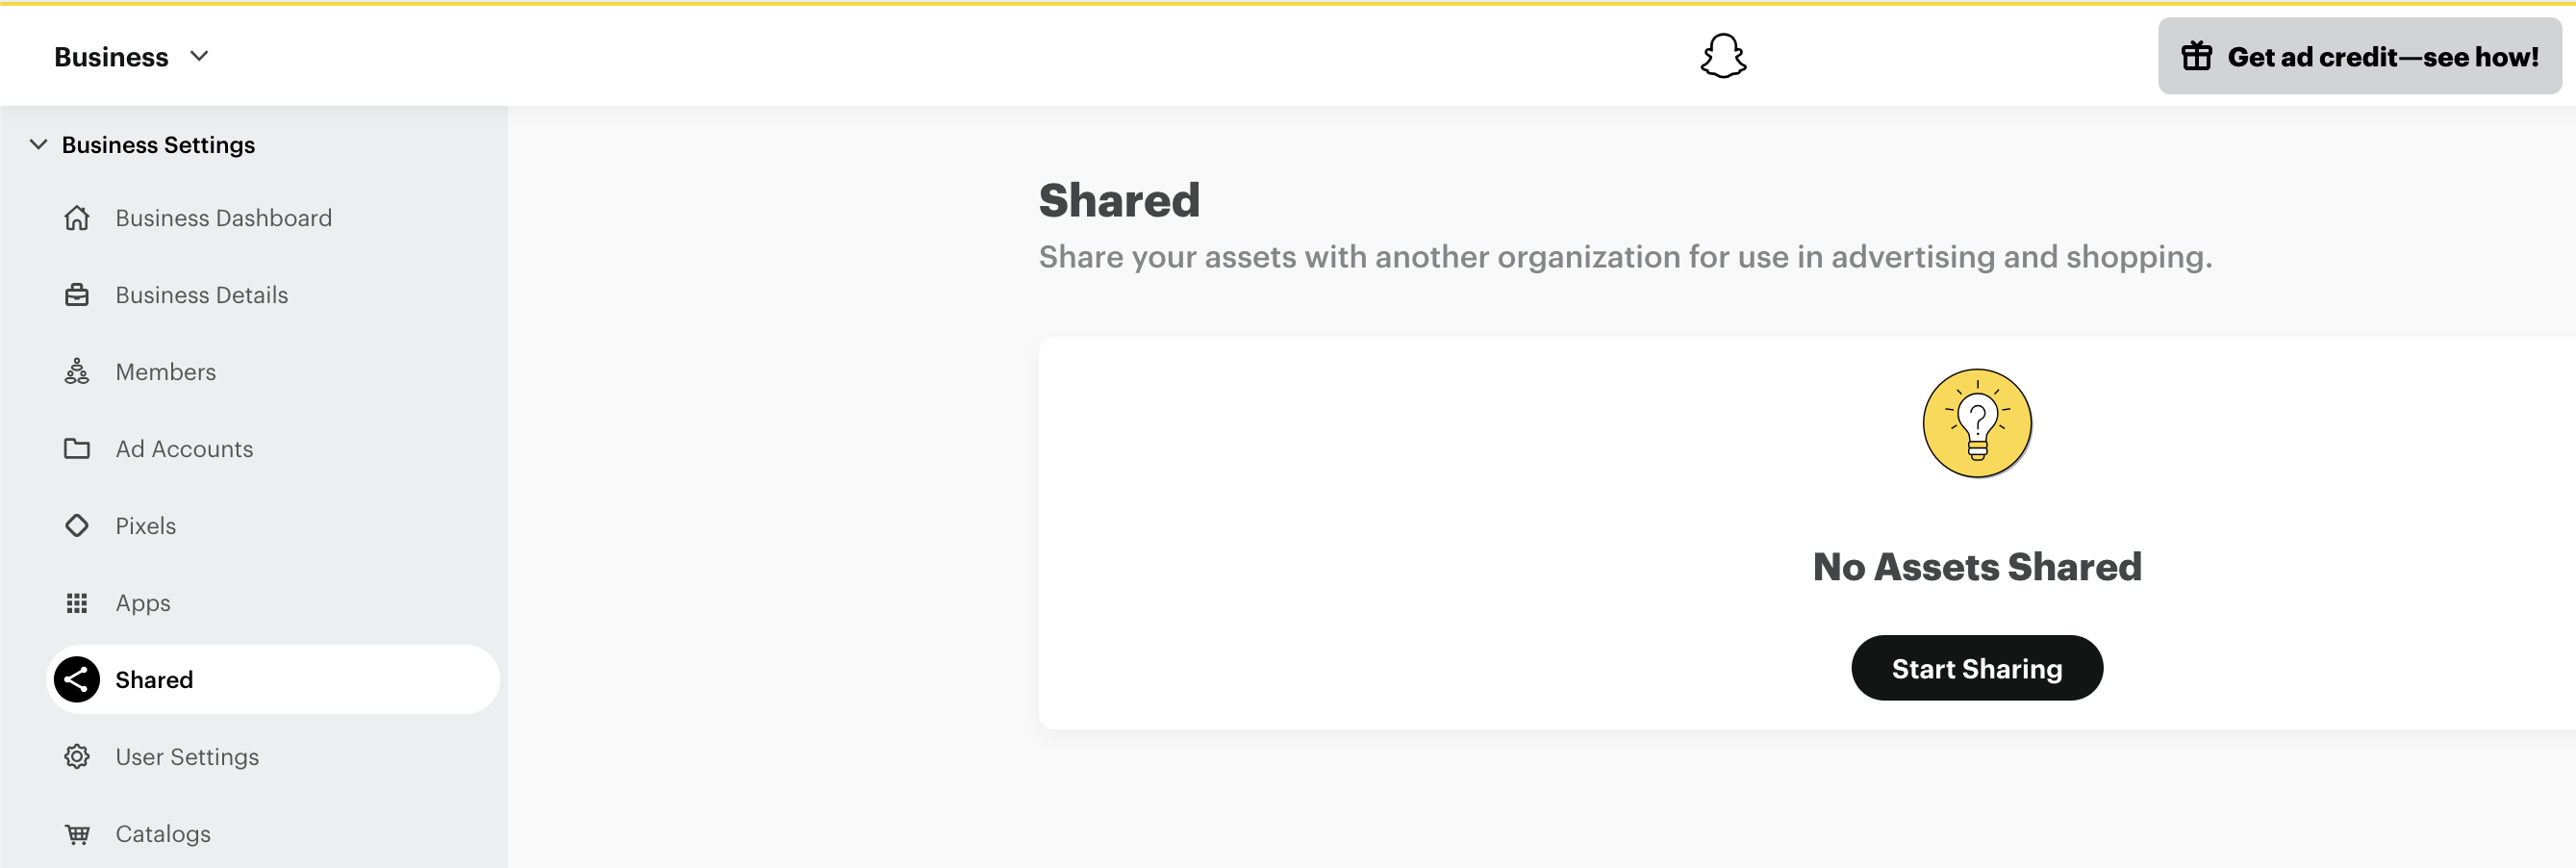
2. Click "Start Sharing"
3. Select Asset Type "Pixel", the pixel you created, and then Angler's organization ID: dcfa8dac-aeeb-4392-be52-884f8d50b7c0
dcfa8dac-aeeb-4392-be52-884f8d50b7c0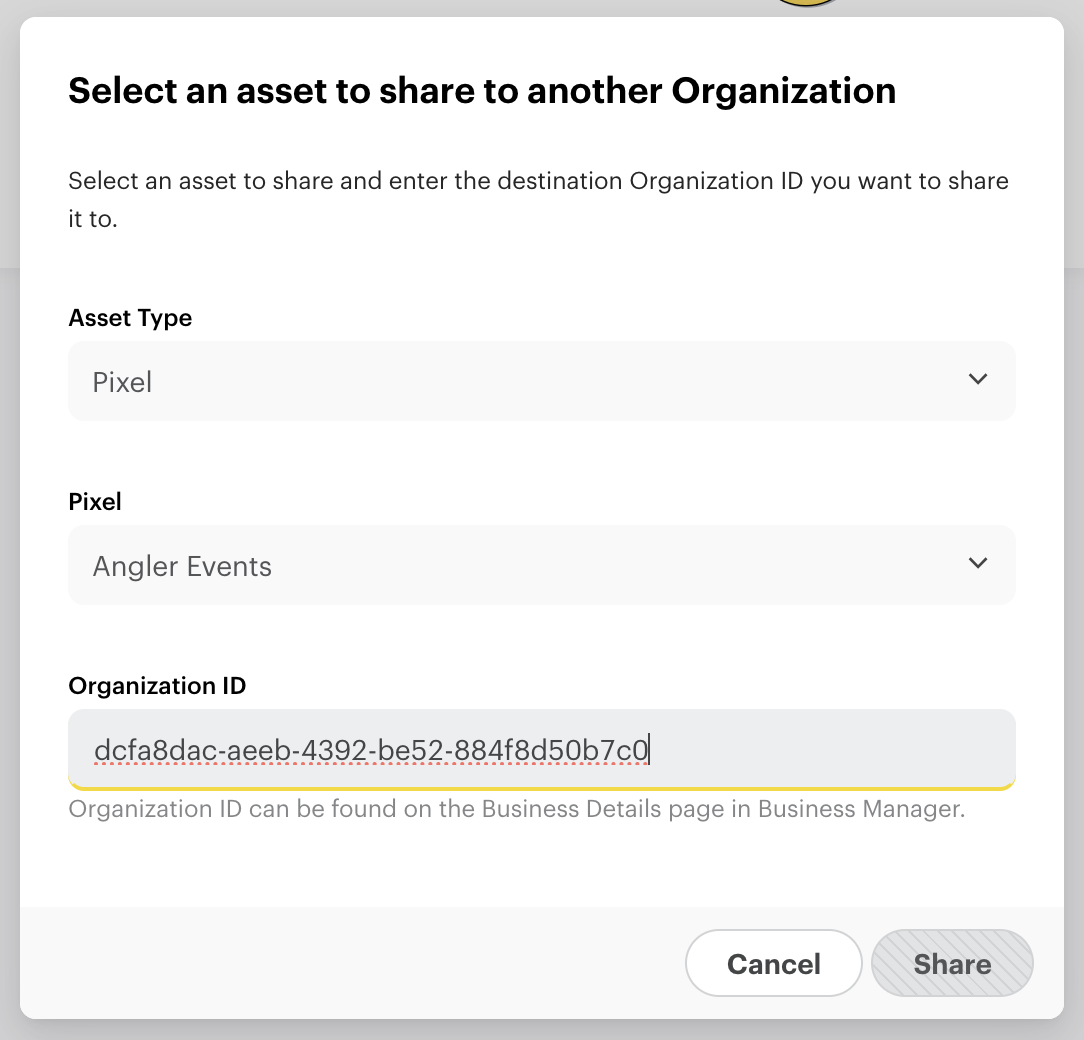
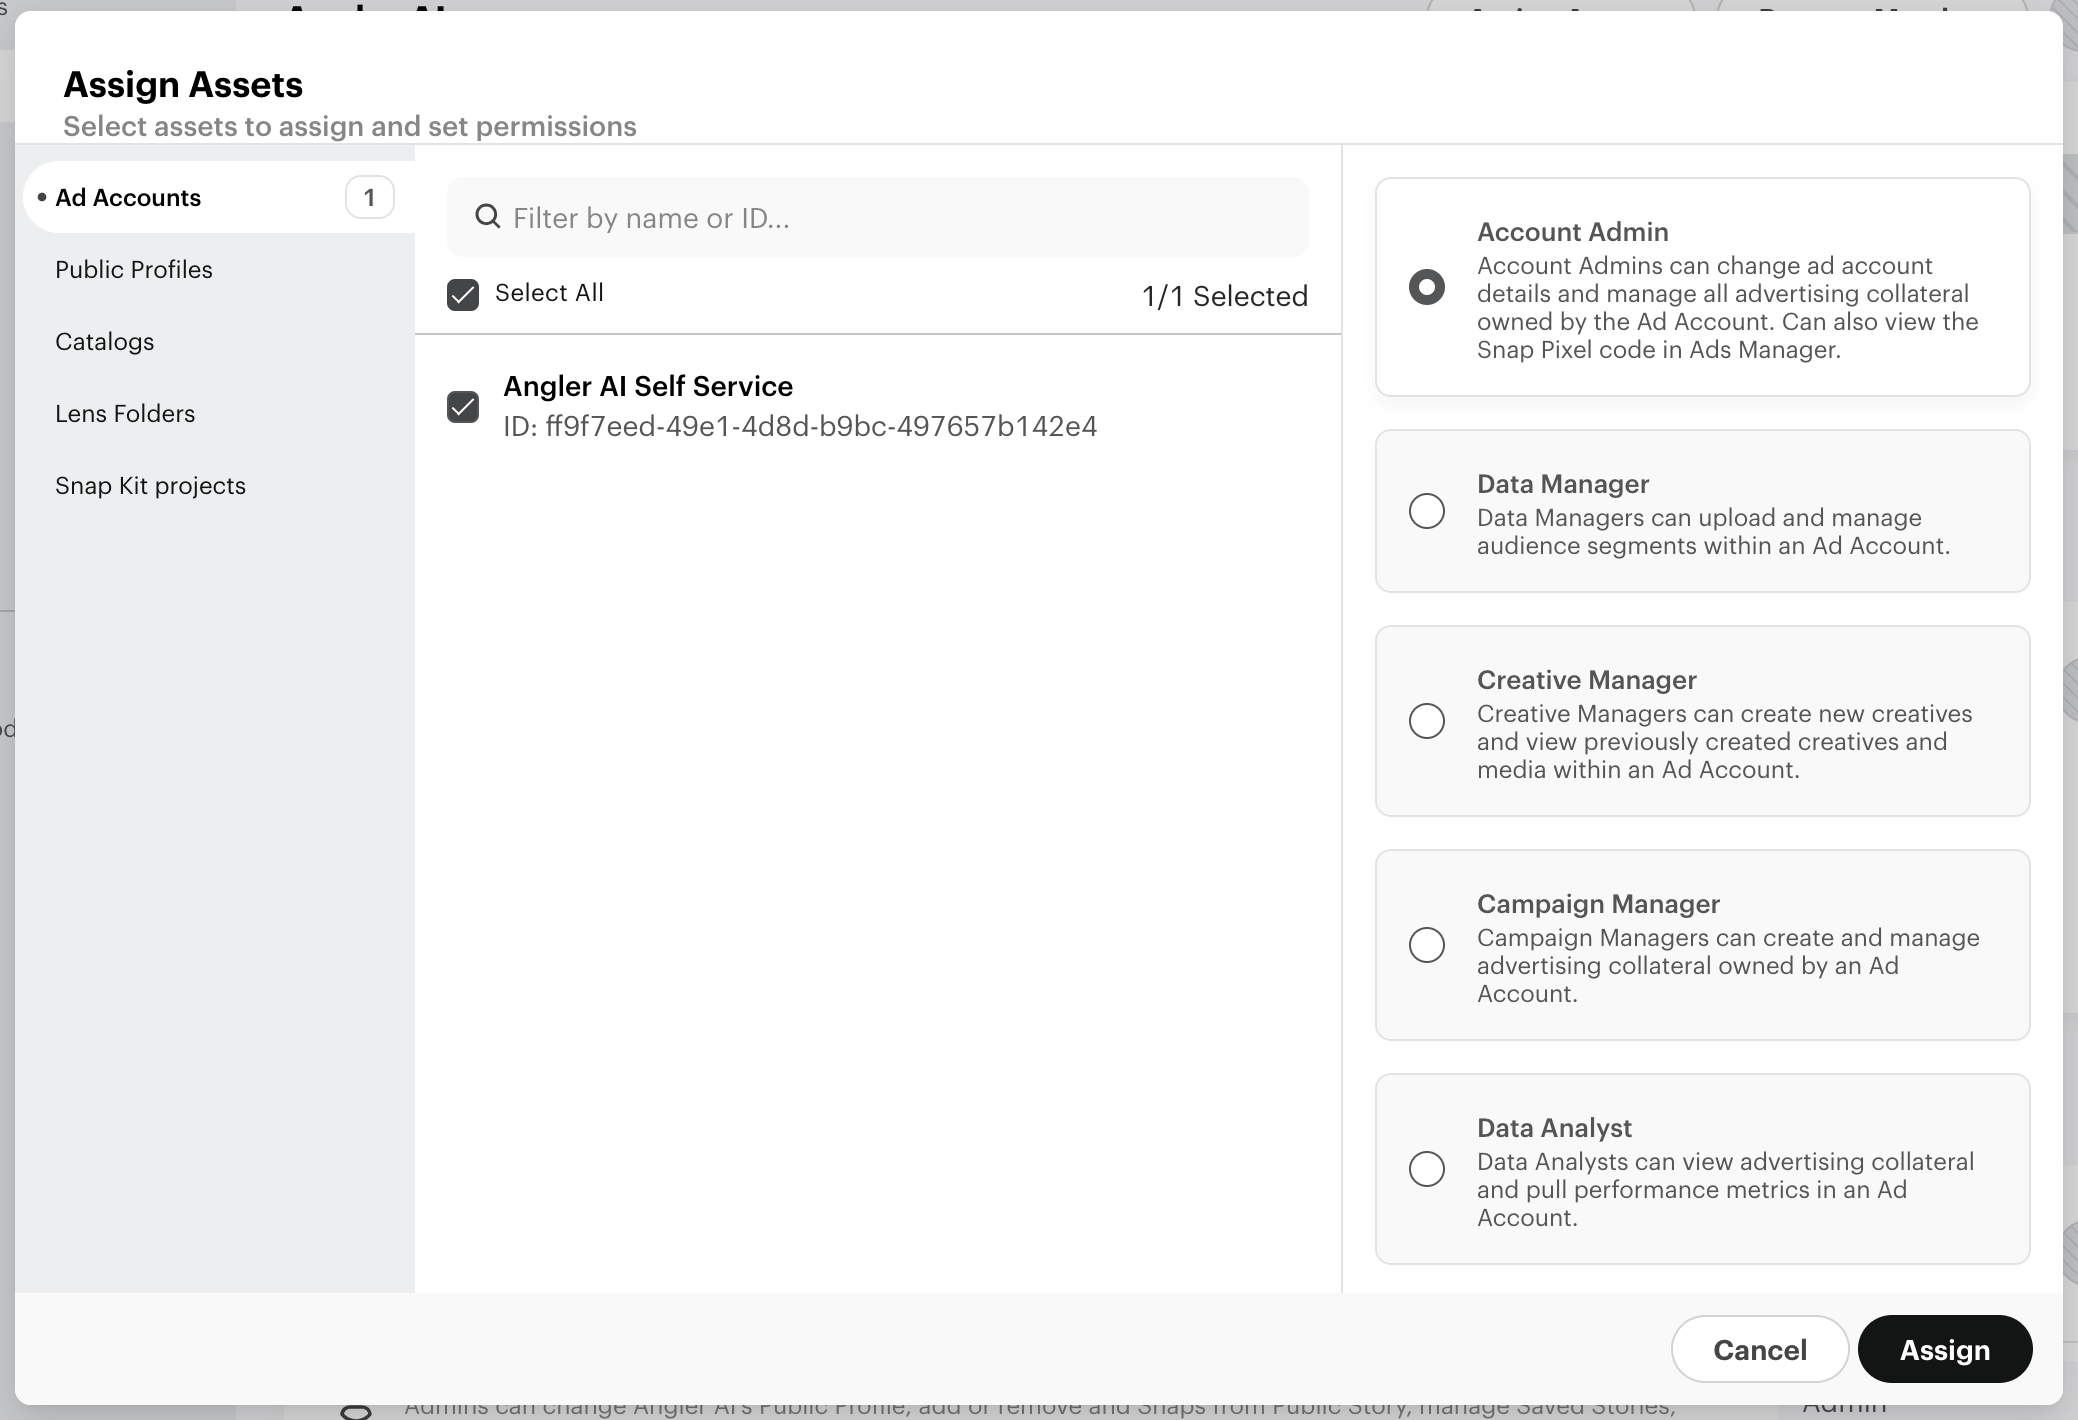
Invite Angler contact to your business & ad account
1. From Business Settings > Members, click "+ Invite Members" and then add your Angler contact to your business
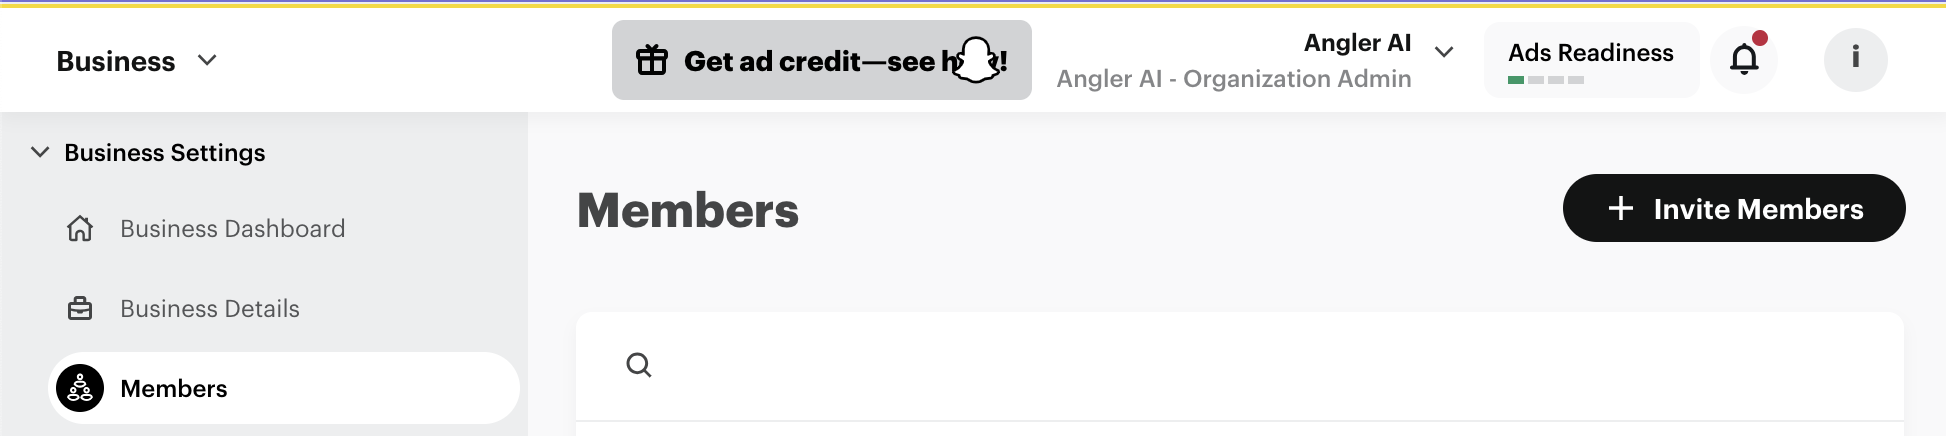
2. After inviting the member, go to Assign Assets, check ✅ the ad account, and select the necessary permission level